

USB-SD-Mux: EMC Testing
Today Jonas and I went to our EMC testing lab to continue the measurements needed to certify electromagnetic compatibility for the USB-SD-Mux.
To make it short: It has passed the radiation tests. In the end we found out that it wasn't the USB-SD-Mux itself that caused us a lot of headache. We are now quite confident that most radiation was caused by the system we used to stimulate the USB-SD-Mux. In the end we had the stimulation-box (containing a Beagle Bone Black) hidden behind multiple absorber-panels beneath the measurement table. This way we were able to dampen enough noise to pass tests. It seems for our next measurements we need to find something other than a Beagle Bone Black for that.
This brings us a lot closer to finally bring the USB-SD-Mux to you. But testing is not completely done: Next step is to pass the RF-immunity tests. We keep our fingers crossed!
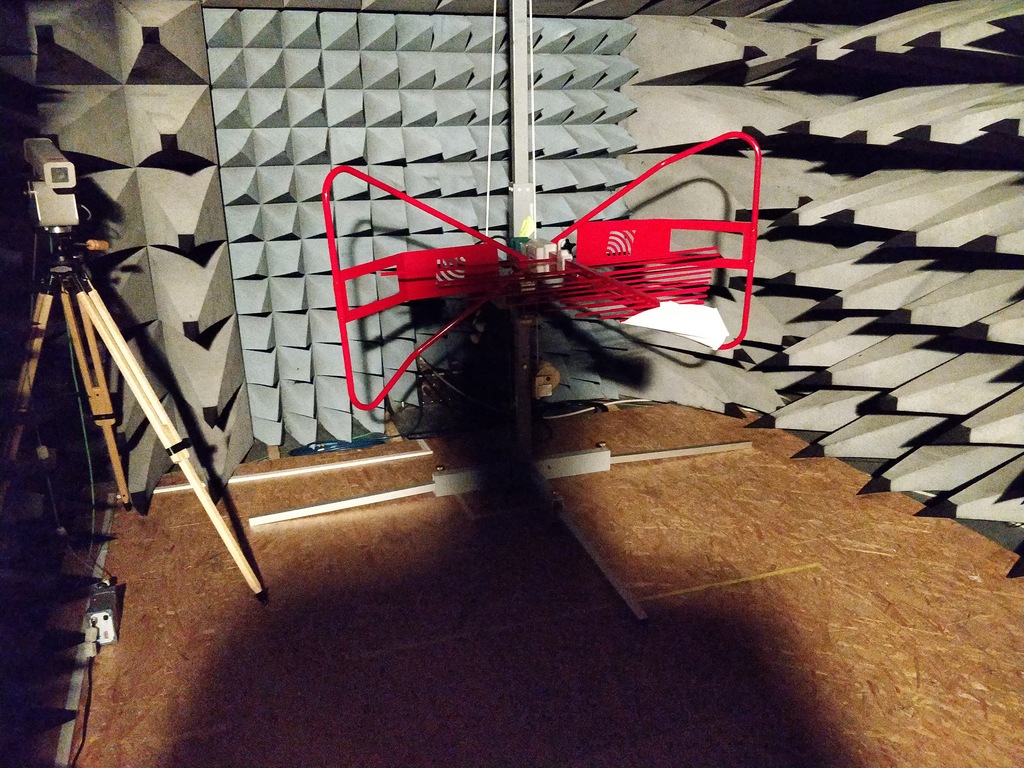
Wideband antennae in the measurement chamber. It's surprisingly dark in there.
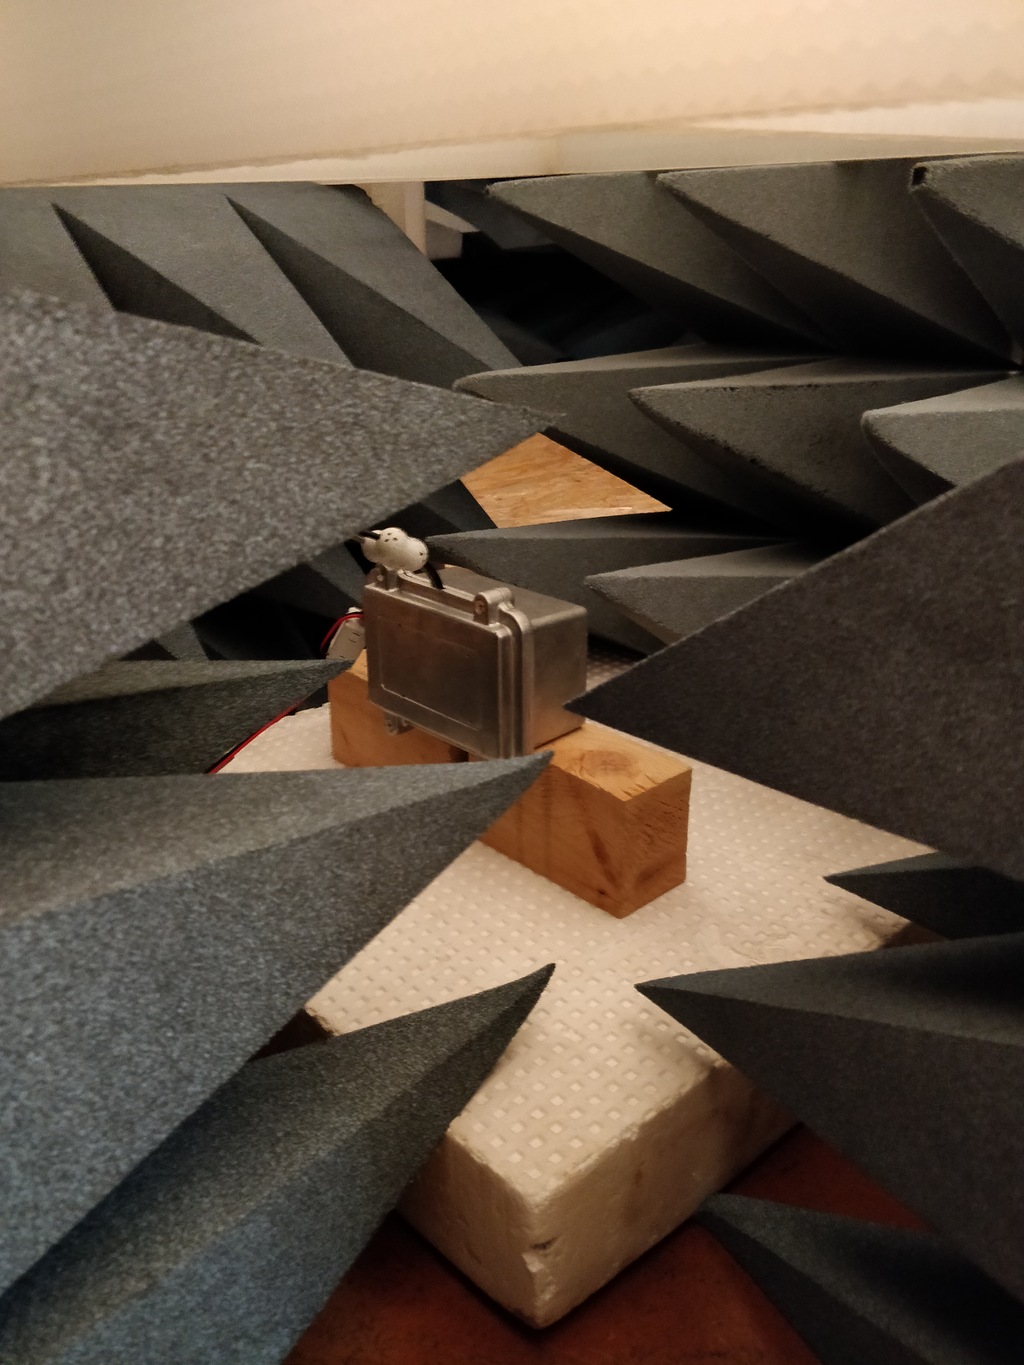
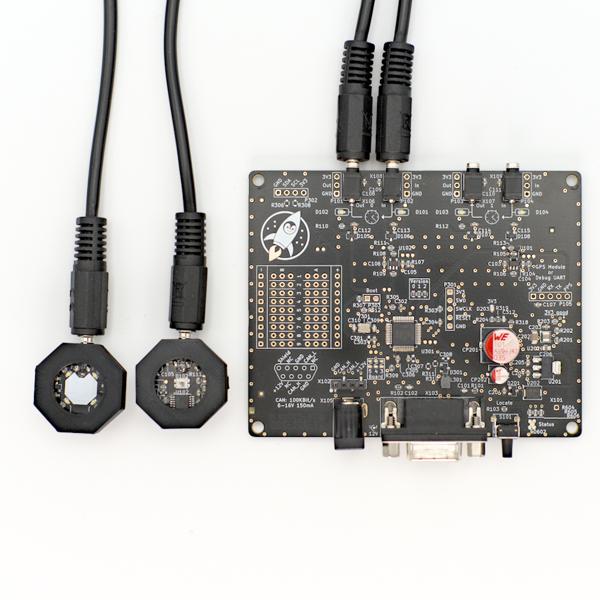
This box contains the Beagle Bone Black we used to stimulate our devices under test. Hidden behind a lot of absorbers we were finally able to suppress most of it's noise.
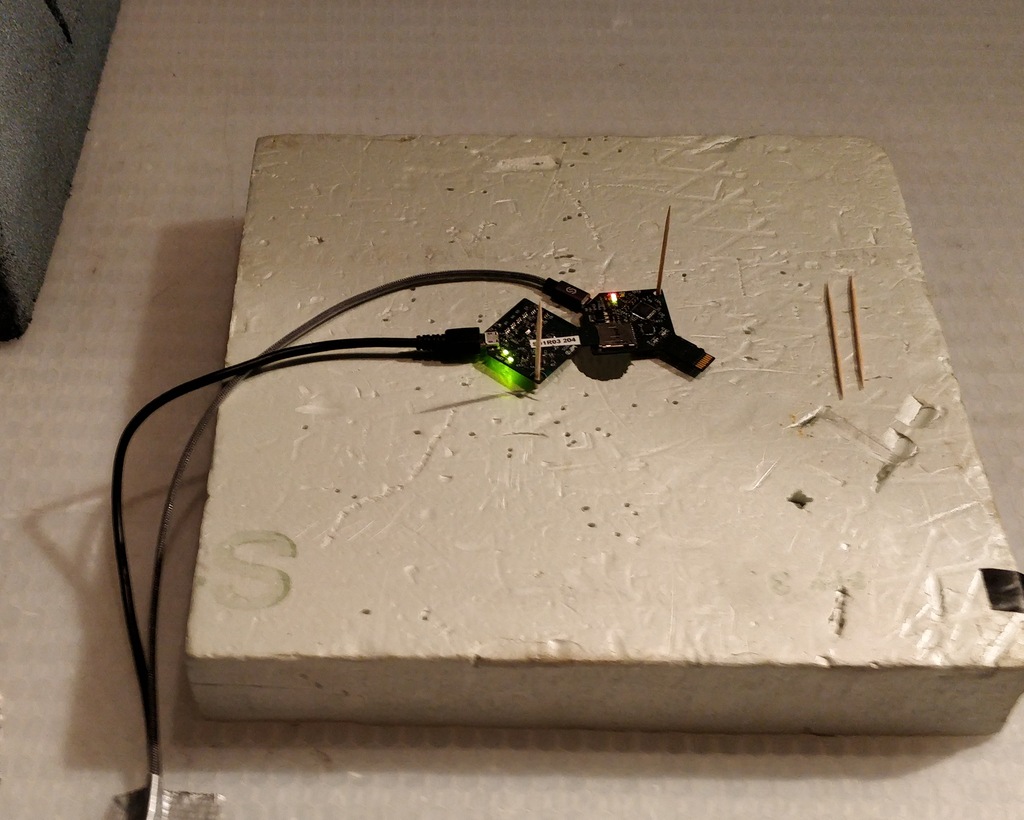
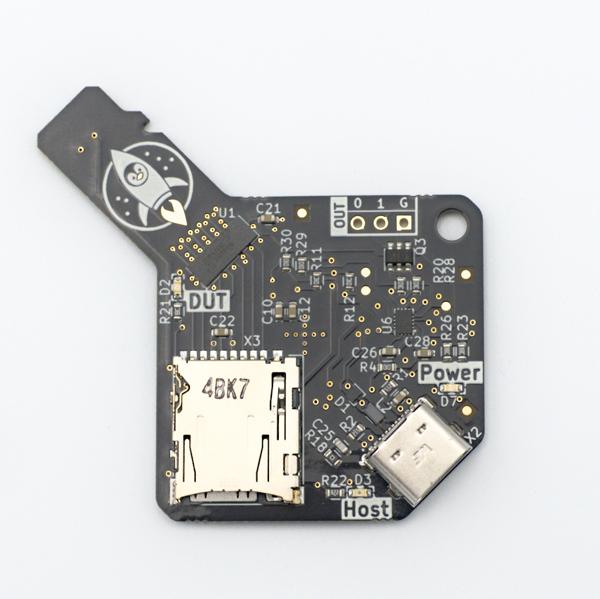
The USB-SD-Mux has evolved since our last blog post. During the test we used one USB-SD-Mux as a card reader and the other as a multiplexer. This way we have control about the card reader and can test both modes in one measurement.
Further Readings
The USB-SD-Mux is now FAST
We have been distributing the USB-SD-Mux with our partner company Linux Automation GmbH since 2019. This has enabled us to make work easier for many embedded developers and improve software quality. At the same time, technology is advancing: micro SD cards are becoming faster and USB-C is now established as the standard.
Linux Automation's Optick: A Glass-to-Glass Latency Measurement Tool
New Linux Automation GmbH products are often inspired by needs we observe in our day-to-day development work at Pengutronix. Today's new product, the Optick, was inspired by our graphics team, that works with different kinds of video pipelines and optimizes them based on customer demands. One such demand is minimizing the latency of camera to display video pipelines.

USB-SD-Mux now reads SD Card registers
The USB-SD-Mux is designed to make life easier for embedded software engineers by automating the transfer of an SD card between a host PC (deploying a new software image to the SD card) and an embedded Linux device. Since we have introduced this device into our Embedded Linux development workflow back in 2019 we have probably written thousands of SD card images with it. Now the usbsdmux software controlling the device has gained a new feature: It can now read and decode a few SD card information registers. This makes it possible to gain more insight into the capabilities of the used SD card - especially while developing on low-level software and drivers interfacing with the SD card.
LXA USB-T1L ❤️ Beagle Play: Exploring Single Wire Ethernet
It seems everybody is talking about Single Pair Ethernet (SPE) these days. So we want to follow the trend and do the same :-) SPE is a class of Ethernet transmission standards that uses just a single pair of twisted pair cable for data transmission. There are multiple SPE variants spanning maximum data rates from a hand full MBit/s to multiple GBit/s and cable lengths from a hand full of meters to kilometers. The most interesting ones from our embedded-centric point of view are 10Base-T1L (point-to-point, up to 1 km), 10Base-T1S (multidrop, approx. 10 m) and 100Base-T1 (point-to-point, 15 m). The new Beagle Play comes with a 10Base-T1L PHY. This makes it a great peer to experiment with our Linux Automation USB-T1L. In this post we will explore the possibilities of 10Base-T1L on a recent Linux system.
Yes we CAN... add new features
Have you ever experienced an otherwise fine product that is missing just the one feature you need for your application?

labgrid Tutorials
This week, we started our series of YouTube labgrid tutorials. In the next few weeks we will publish more video tutorials showing you labgrid's features and giving you handy tips and tricks.